

Procreate is an amazing drawing program with equally amazing brushes. I’ve enjoyed using the stock brushes (Spectra and Tamar are personal favorites), and also experimenting with creating my own brushes - two of which you can get as freebies! Here’s a quick run down on how to install new brushes and organize, share, and edit your brush libraries.
Installing New Brushes
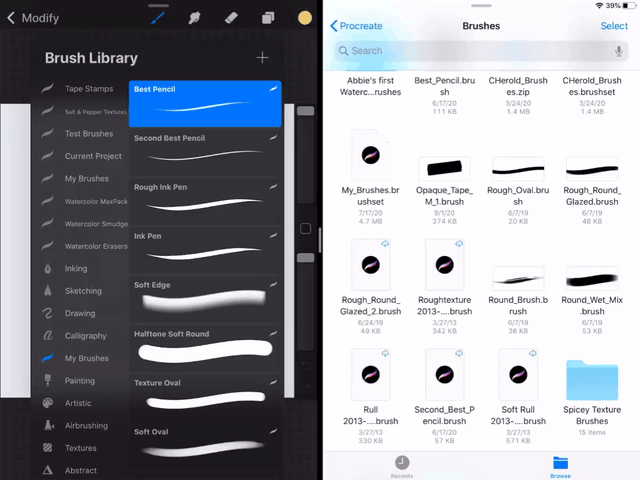
It’s as simple as dragging a brush into your brush panel. When you drag a brush file, it will automatically go into your “Imported” library.
Pro tip : Split screen works perfectly for this!

The same can be done with brush sets. Instead of appearing under “Imported”, you’ll see the entire brush library show up in your list.
Sharing & Saving Brushes
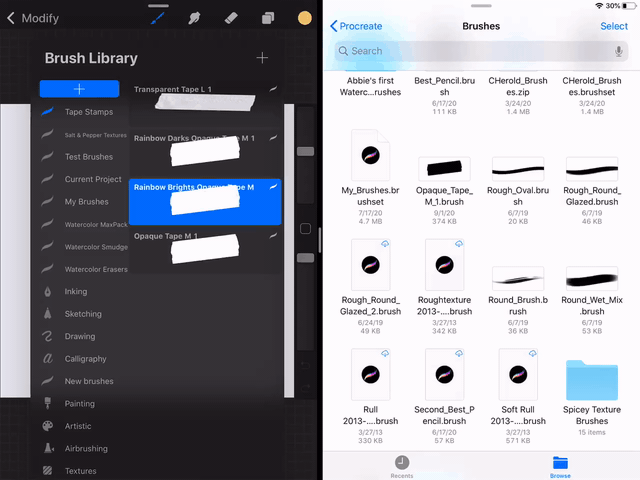
It’s always a good idea to make back ups of your brush sets, especially if you create your own. You can do this by tapping the icon next to the name of the set and selecting “export”. From there, choose your file’s destination and you’re good to go.
You can also rename your brush sets from the same menu, as well as duplicate sets and delete sets you no longer need.
Organizing Procreate Brushes
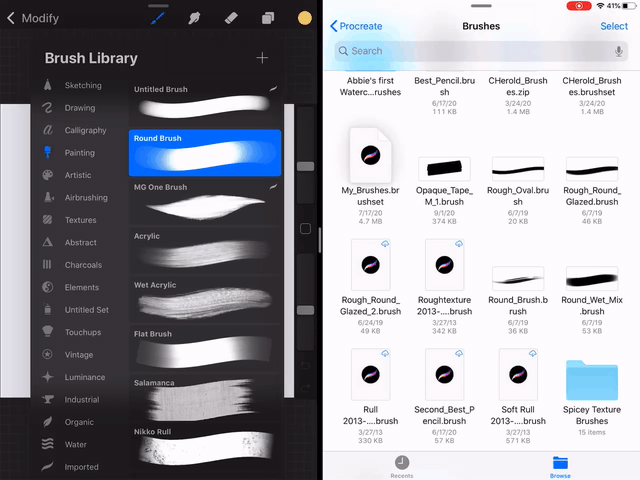
I like having organized brush lists, as you can see. If I’m working on a painting, I’ll find brushes I commonly use, duplicate them, and store them in a custom group so I can quickly access them for my project, rather than searching through each library to find the one I want to use.
You can create a new library by scrolling to the very top of the list and hitting the + icon. From there, tap and drag your brushes into that library.

And that’s it! Procreate has made it super simple to install, organize, edit, and share brushes.
I hope you found this visual guide helpful! Good luck, and happy creating!
Comments ()